The Irresistible Allure of Chocolate Covered Oreos: A Timeless Treat
Few treats capture hearts and taste buds quite like chocolate covered Oreos. These iconic crunchy, cream-filled chocolate sandwich cookies, enrobed in a thick, rich layer of melted chocolate, are more than just a dessert; they're a miniature masterpiece of texture and flavor. Whether you're a lifelong Oreo enthusiast, a dedicated chocoholic, or simply someone searching for an easy yet impressive sweet creation, these decadent delights promise to deliver a truly satisfying experience.
The beauty of chocolate-dipped Oreos lies in their perfect duality: the familiar, beloved crunch of the cookie meeting the smooth, luxurious snap of the chocolate shell. This harmonious combination makes them a guaranteed hit for any gathering, holiday celebration, or even just a cozy night in. Forget complicated baking projects; these no-bake wonders require only a few simple ingredients and a dash of creativity, making them an accessible joy for all ages and skill levels.
But what if we told you there's a secret to elevating these already fantastic treats to an even higher plane? A method that ensures not only a flawless finish but also a profound improvement in taste and texture simply by letting them rest? Prepare to unlock the magic of chocolate covered Oreos that actually get better overnight.
Crafting Perfection: Beyond Just Dipping for the Ultimate Chocolate Covered Oreo
While the concept of dipping an Oreo in chocolate might seem straightforward, achieving that professional-grade snap, smooth finish, and exquisite flavor balance requires a little intentionality. It's about more than just melting chocolate; it's about understanding the nuances that transform a simple treat into a truly unforgettable experience.
Choosing Your Chocolate Wisely for That Perfect Snap
The foundation of an exceptional chocolate covered Oreo is, naturally, the chocolate itself. The type and quality of chocolate you select will profoundly impact both the taste and the crucial "snap" of the finished product. To avoid a waxy coating or a chocolate shell that’s too soft, opt for high-quality chocolate that is designed for melting and coating. Chocolate chips, while convenient, sometimes contain stabilizers that can result in a less smooth melt and a softer set. Instead, look for baking chocolate bars (couverture chocolate is ideal if you're serious) or quality melting wafers.
- Milk Chocolate: For a classic, sweet, and creamy taste that appeals to most palates.
- Dark Chocolate: Offers a more sophisticated, slightly bitter contrast to the sweet Oreo, creating a wonderfully balanced flavor profile.
- White Chocolate: A versatile choice for adding vibrant food coloring or a creamy, sweet coating.
- Ruby Chocolate: For an adventurous, fruity, and naturally pink twist that adds visual flair.
The key is selecting chocolate that melts smoothly and sets firm, ensuring that satisfying clean break between the shell and the cookie.
Mastering the Melt and Temper for a Flawless Finish
One of the most significant secrets to superior chocolate covered Oreos that store beautifully without smudges or stickiness lies in tempering the chocolate. Tempering is a process of carefully heating and cooling chocolate to stabilize its crystal structure. While it sounds intimidating, a simplified method can still yield excellent results:
- Gentle Melt: Use a double boiler or microwave on low power, stirring frequently, to melt your chosen chocolate until smooth. Avoid overheating, which can cause the chocolate to seize or burn.
- Achieving the Right Consistency: Once melted, the chocolate should be fluid enough to coat the Oreos evenly but not so thin that it drips off excessively. If using quality chocolate, it should naturally reach this consistency.
- Quick Chill: After dipping, the goal is to cool the chocolate quickly and efficiently.
This careful handling of the chocolate ensures a glossy, firm shell that holds its shape, preventing the dreaded sticky bottoms or waxy texture often associated with less refined methods.
The Dipping Technique for Even Coating
A few simple techniques can ensure your Oreos are perfectly coated:
- Use the Right Tools: A dipping fork or a set of tongs can make the process much easier, allowing for full submersion without getting your fingers messy.
- Full Coverage: Gently lower the Oreo into the melted chocolate, ensuring it's fully submerged.
- Tap and Drip: Lift the Oreo, gently tap the fork against the side of the bowl to remove excess chocolate. This helps prevent thick, uneven coatings and ensures the chocolate sets smoothly.
- Transfer Carefully: Place the dipped Oreos onto parchment paper or a silicone mat-lined baking sheet.
Cooling for the Perfect Snap
Once dipped, the Oreos need to cool and set. While it might be tempting to rush this process, patience is key for that firm, delightful snap. Placing them in the refrigerator for about 15-20 minutes is usually sufficient. For an even quicker set, a few minutes in the freezer can also work wonders, though be mindful not to leave them in too long as extreme temperature changes can sometimes affect the chocolate's texture over time. The goal is a firm, non-sticky coating that maintains its structure.
Unlock the Secret: Why Chocolate Covered Oreos Are Better the Next Day
Now, for the groundbreaking revelation hinted at in our title: chocolate covered Oreos aren't just good when fresh; they actually improve after resting for a day. This might sound counter-intuitive for a crunchy treat, but there’s a scientific and sensory reason behind this overnight transformation that sets them apart from many other confections.
When you first dip and chill your Oreos, the chocolate shell sets quickly. However, the flavors are still distinct: the sweet, rich chocolate and the familiar cocoa-and-cream of the Oreo. Over 12-24 hours of proper storage, a subtle alchemy occurs:
- Flavor Integration: The individual notes of the chocolate and the Oreo begin to meld and deepen. The chocolate's richness seeps slightly into the cookie, while the Oreo's unique essence infuses into the chocolate. This creates a more cohesive, harmonious flavor profile that is more complex and satisfying.
- Texture Stabilization: The chocolate shell fully cures and stabilizes, resulting in an even more pronounced and satisfying snap when bitten. The slight give of the Oreo beneath the firm shell creates a delightful textural contrast that is heightened after a period of rest. You won't lose the Oreo crunch; instead, you get a bite that finishes with an impeccably clean snap, holding up beautifully in your hand and in storage.
- Optimal Firmness: The overnight rest allows the chocolate to reach its optimal firmness without being brittle. This ensures the clean break without being overly hard or waxy.
Unlike treats such as chocolate-covered marshmallows, which can soften or lose their shape quickly, chocolate covered Oreos are designed for longevity and actually benefit from it. They become more giftable, more snackable, and perfectly shelf-stable. To ensure this overnight magic happens, store your cooled Oreos in an airtight container at room temperature. This controlled environment allows for the gentle integration of flavors and textures without exposure to humidity or extreme temperatures that could compromise the chocolate's integrity.
Endless Customization: Making Them Uniquely Yours
Beyond their inherent deliciousness and surprising overnight improvement, one of the greatest joys of making chocolate covered Oreos is the boundless potential for customization. These cookies are a blank canvas, ready to be adorned to match any theme, holiday, or personal preference.
Once your Oreos are dipped and before the chocolate fully sets, let your imagination run wild with toppings:
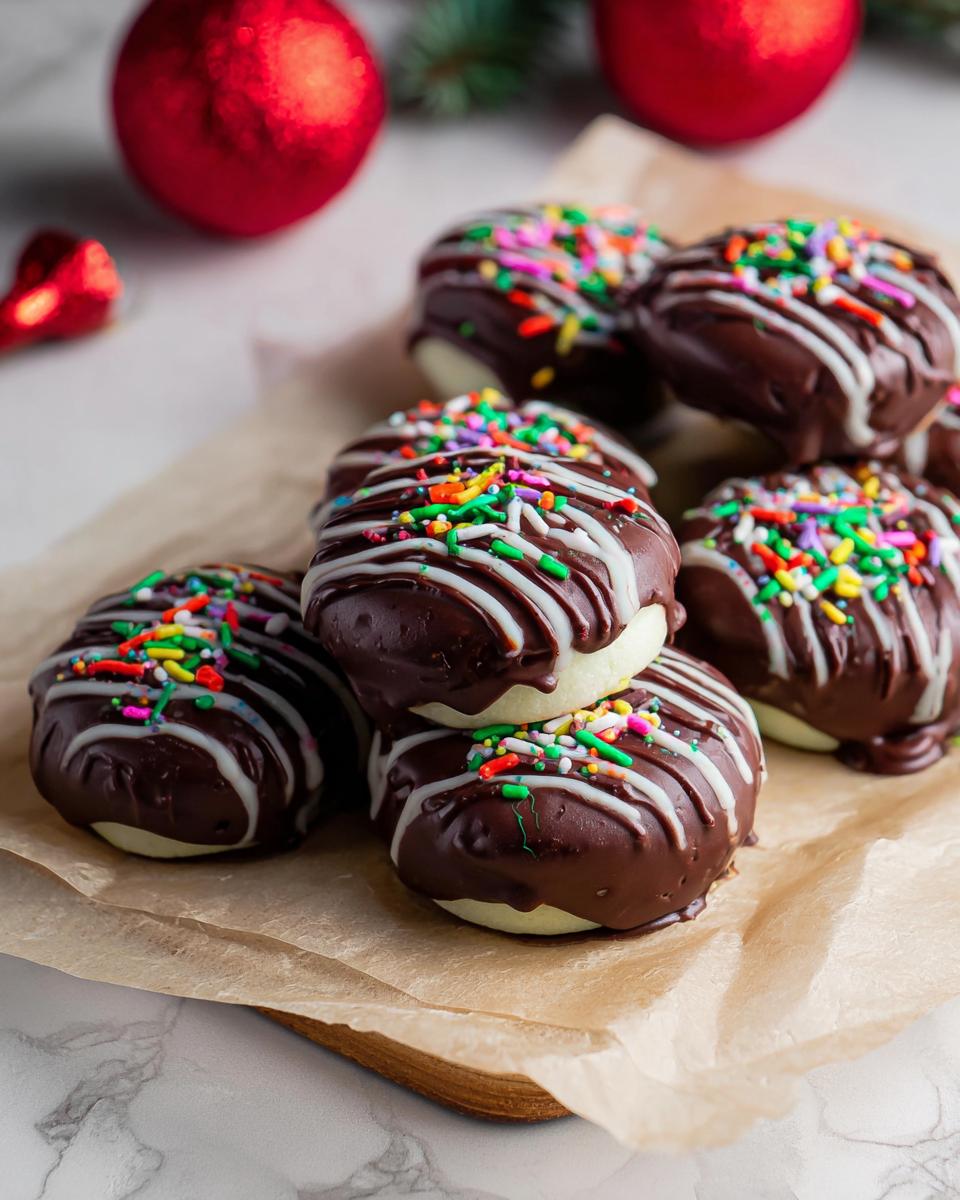
- Sprinkles Galore: A classic choice! Use colorful sprinkles for birthdays, themed sprinkles for holidays like Valentine's Day (red, pink, white), Christmas (red, green), Easter (pastels), or even gender reveal parties (blue, pink).
- Nutty Crunch: Finely chopped nuts like peanuts, walnuts, pecans, or almonds add a savory crunch and an extra layer of flavor that complements the chocolate beautifully.
- Coconut Bliss: Shredded coconut, toasted or plain, offers a delightful texture and a hint of tropical sweetness.
- Chocolate Drizzles: Contrast your main chocolate coating with a drizzle of white, milk, or dark chocolate for an elegant finish. You can even use food coloring in white chocolate for vibrant designs.
- Decadent Dustings: A sprinkle of sea salt to enhance the chocolate's flavor, crushed espresso beans for a coffee-chocolate kick, or even shaved chocolate for an extra touch of sophistication.
These toppings add texture and visual appeal without crowding the essential balance between chocolate and cookie. They transform simple chocolate covered Oreos into personalized gifts, stunning party favors, or festive additions to your dessert table. Enjoy them on their own, dip them in your favorite milk, or even include them as a standout item in a hot cocoa bar for an extra special treat.
Conclusion: Experience the Magic of Time-Enhanced Indulgence
From their simple beginnings as a beloved sandwich cookie to their transformation into a sophisticated, customizable confection, chocolate covered Oreos hold a special place in the world of easy desserts. By understanding the importance of quality ingredients, mastering a few basic techniques, and embracing the secret of overnight rest, you can create a treat that not only satisfies immediate cravings but also deepens in flavor and perfects its texture over time. So go ahead, dip those Oreos, get creative with your toppings, and discover the truly elevated experience of chocolate covered Oreos that, remarkably, improve with age.
